In our newsletter last week, we included a bot that collected information about our users’ bot making plans. Here is the bot if you want to try it out — https://checkin.hellotars.com/conv/ryCdwk/
At the end of the interaction, the bot did a neat party trick in which it sent you a summary of your conversation with it.
If you tried out the bot, you must have been wondering what black magic we used to do this. Rest assured, we did not in fact use any magic at all (surprise surprise).
We actually used SendGrid, an API for sending out emails.
Below are instructions for how you can integrate SendGrid into your Tars bots to send your users an email with all their conversation with the bot (they must have shared their email, obviously!)
The example…
The example over here is the bot used in the newsletter itself. I will show you below how you can use SendGrid’s API to send bot users a summary of their interaction with the bot.
Steps:
- Create a SendGrid Account and get an API key
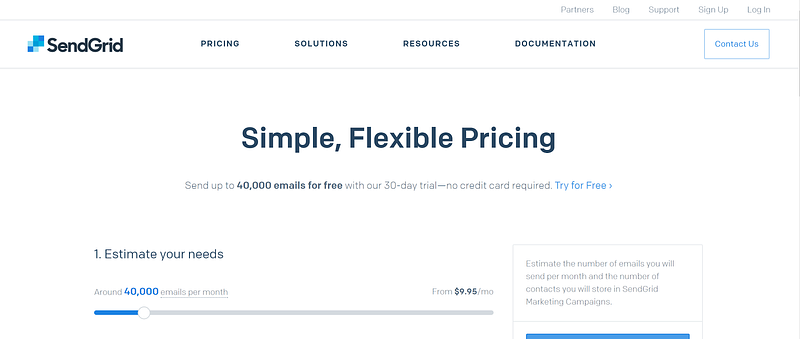
Go to SendGrid’s website and sign up for their service. They have a 30 day free trial if you just want to play around with it:
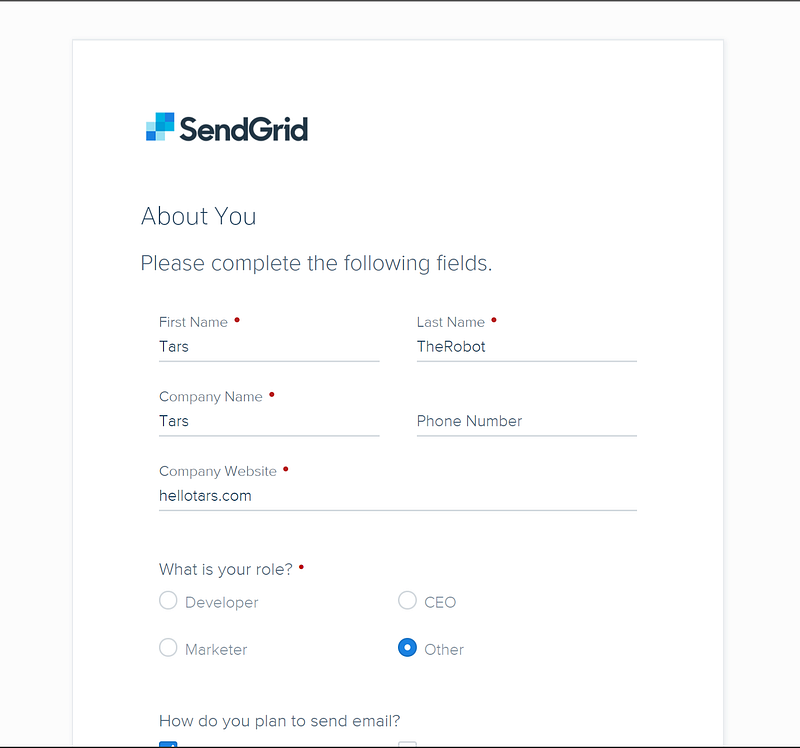
Once you have signed up, login and provide them with your details.
And you will be taken to your dashboard:
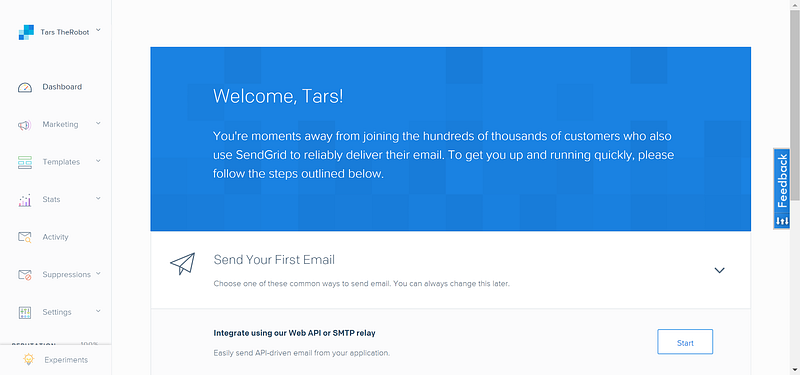
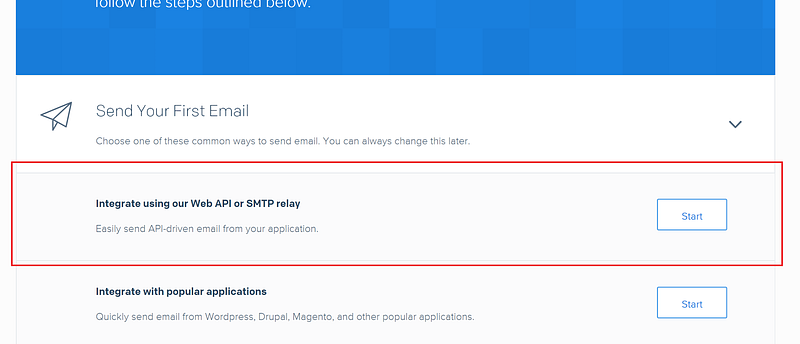
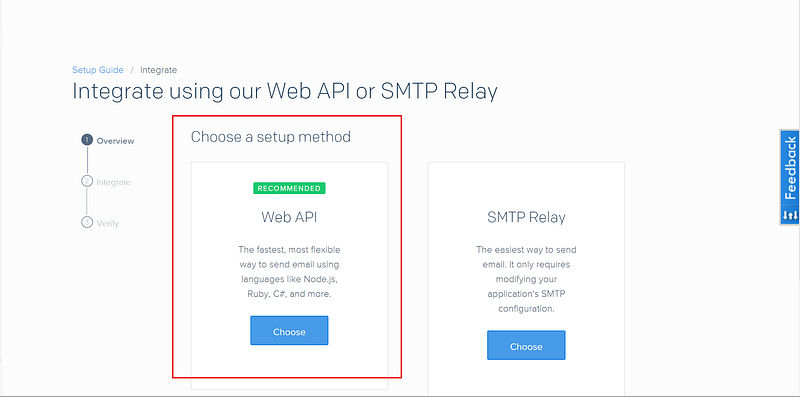
Click start on the ‘Integrate using our Web API or SMTP relay’ option
On the next page, choose Web API:
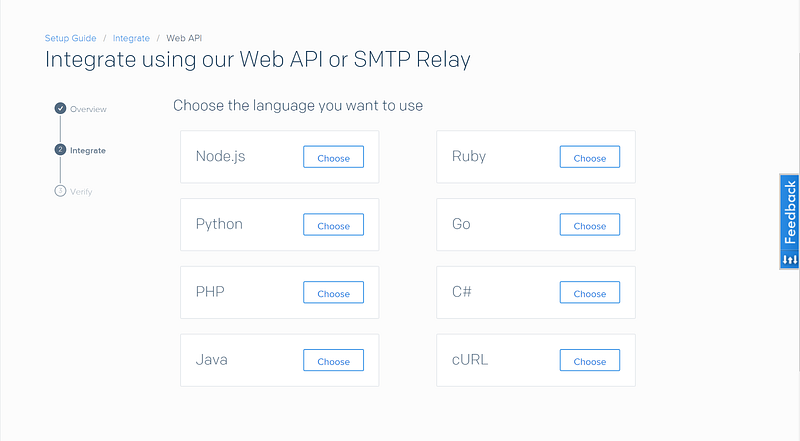
On the next page, select any language as we just want an API key:
Then name the API key and click create:

You will now have an API key:

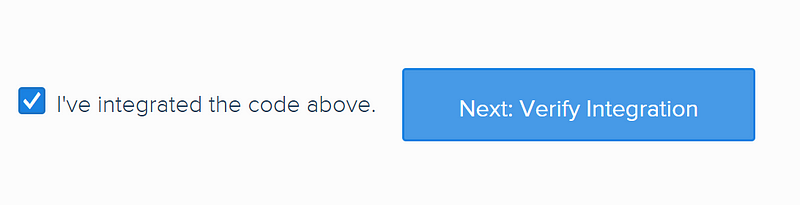
Scroll to the bottom and navigate to the next step:
You will be taken to a page that looks like this:
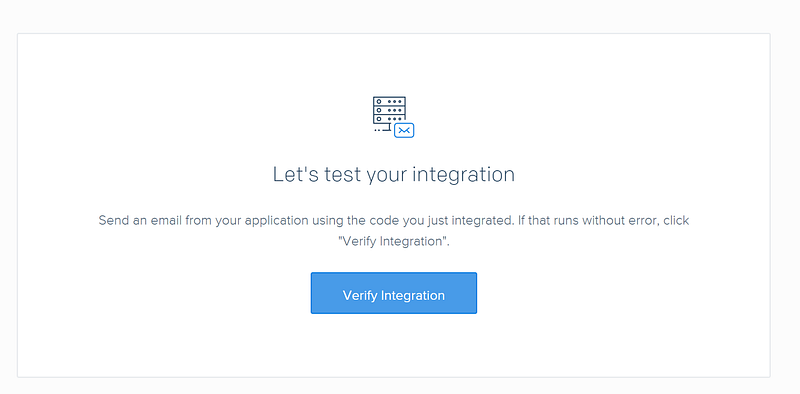
We will leave the page like this while we set up the TARS bot.
2. Setting up the API call in the TARS bot
DISLCLAIMER: We will not delve into how the API works, we will just tell you what to copy where.
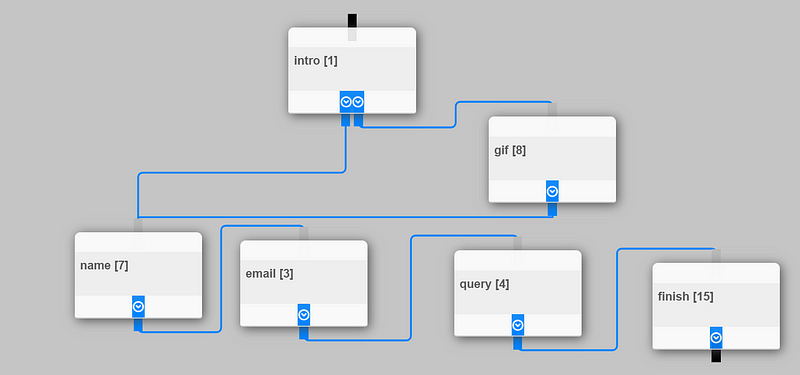
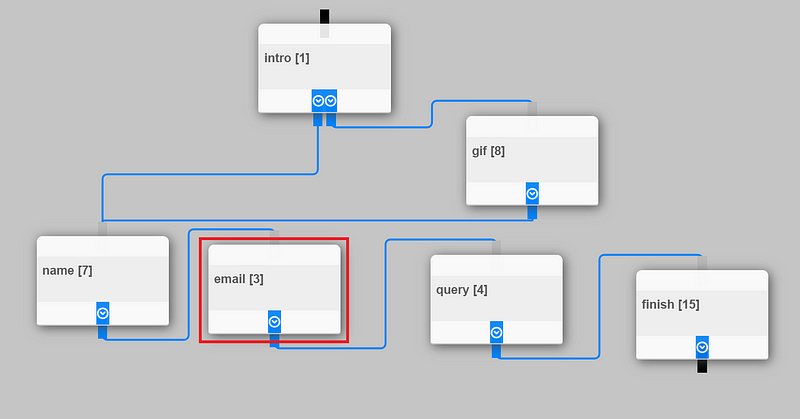
Open up the bot whose data you want to send in an email. In this example, I am using a simple contact form bot that takes a user’s name, email and query and offers them a small diversion where they can see a gif:
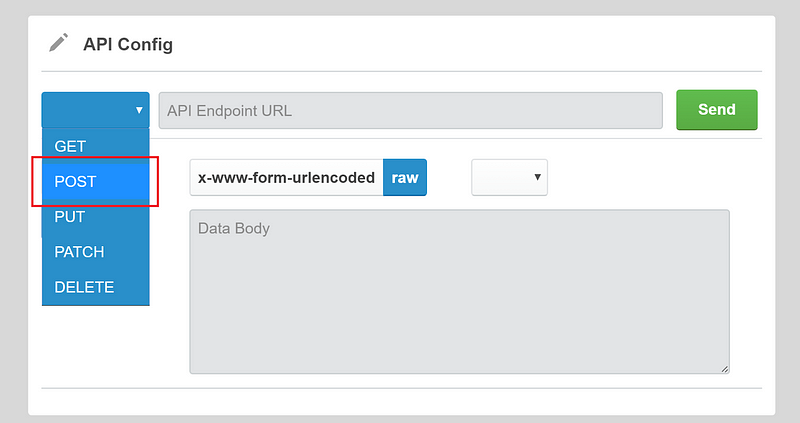
Navigate to the last gambit and click the API-config checkbox :

Select POST from the drop down menu:
Now we will need to copy the API endpoint into the config. In this case the endpoint is : https://api.sendgrid.com/v3/mail/send
Go ahead and copy it into the API config :

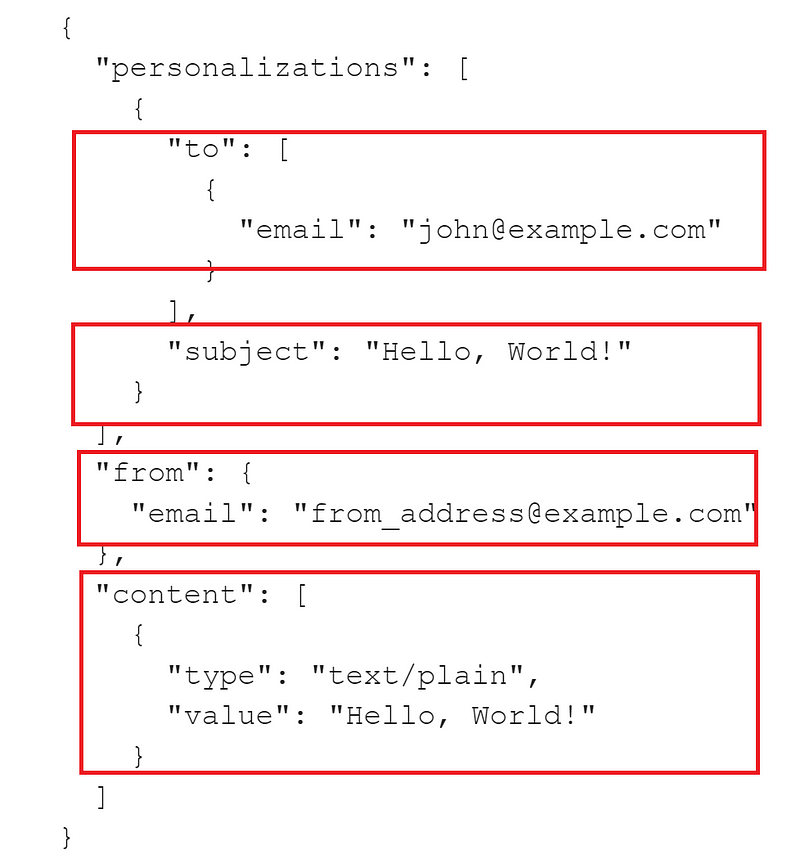
Now we will need to setup the data which we send to this endpoint. In this case, the data has to be sent as a JSON. Here is a template which SendGrid provides (if this looks complex, don’t worry! It’s easier than it looks) :
{
"personalizations": [
{
"to": [
{
"email": "{{ursp.email}}"
}
],
"subject": "Hello, World!"
}
],
"from": {
"email": "hi@hellotars.com"
},
"content": [
{
"type": "text/plain",
"value": "Here is a summary of your conversation:<br><br>Name: {{ursp.name}}<br><br>Email: {{ursp.email}}<br><br>Query: {{ursp.query}}"
}
]
}
This template essentially contains all of the details of the email that will be sent. We will come back to setting this up later, for now just change the “to email” to your email:
"to": [
{
"email": "hi@hellotars.com"
}
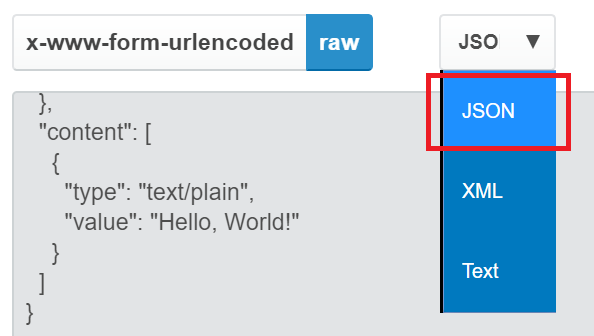
And copy it into the Data/Body field in the API config :

Select JSON from the drop down :
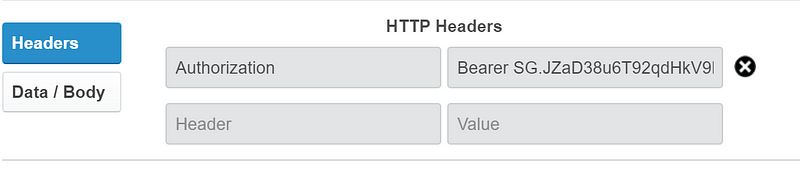
Now click on headers and input your API key. For this, you will first have to put Authorization in the header field and Bearer <API key>:
Hit send in the API config:
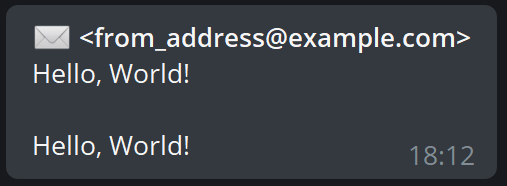
And you should get an email that looks like this:
Now it is time to set up the data that is sent. We want to adjust four fields, the “to email”, the subject, “from email” and the content:
“To Email” & Subject
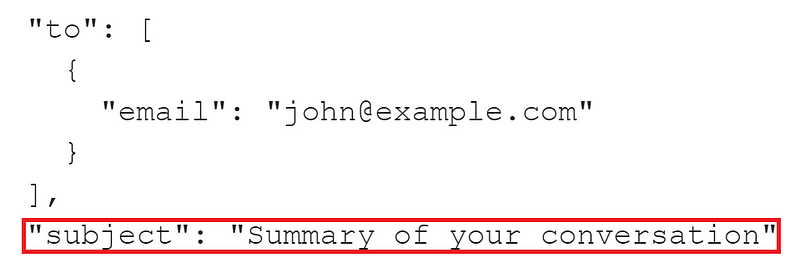
The bot I am using is a contact form bot. I might want to send users a summary of their conversation, so I change the subject to “Summary of your conversation”:
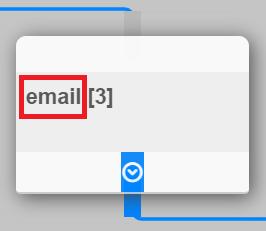
Adjusting the “to email” is slightly more complex. Since I want to send a summary of a conversation to the user itself, I have to collect the email of the user and reference that email in the API call(complex as that sounds, it is easy). In this bot, I collect the email in a gambit named email:
To call the data submitted by a user in a gambit anywhere in your chat use the following format : {{ursp.gambit_name}}
Of course, you would replace gambit_name with the actual gambit name:
So in this case the we would use {{ursp.email}}:

From Email
The bot used in this example is a contact form for Tars as a company. So I put the the company email (hi@hellotars.com) in this field:

Content
In this example, we want to give the user a summary of their conversation. So ideally we want the name, email and query fields with a line in between:
Name: John Smith
Email: john@smith.com
Query: What does the fox say?
To do this we need to use the same data referencing feature we used for the to email. In this case the gambit names are name, email and query:

So let’s go ahead and replace the name, email and query in the template with {{ursp.name}}, {{ursp.email}} and {{ursp.query}}:
Name: {{ursp.name}}
Email: {{ursp.email}}
Query: {{ursp.query}}
Now the sendGrid API parses text as html,so we will have to replace new lines with the <br> tag:
Name: {{ursp.name}}<br><br>Email: {{ursp.email}}<br><br>Query: {{ursp.query}}
We can also add a basic intro line at the beginning like Here is a summary of your conversation:
Here is a summary of your conversation:<br><br>Name: {{ursp.name}}<br><br>Email: {{ursp.email}}<br><br>Query: {{ursp.query}}
And paste this into the value field:

Now copy and paste this new JSON into the API config area:

Hit save:

And you are all set. Every time someone fills out the bot, they will get an email about the same.
If you tried out the bot I had shared above, you should have received an email like this —

That’s it 🙂

Ish is the co-founder at Tars. His day-to-day activities primarily involve making sure that the Tars tech team doesn’t burn the office to the ground. In the process, Ish has become the world champion at using a fire extinguisher and intends to participate in the World Fire Extinguisher championship next year.
0 Comments on "Tars Labs Experiment #3 — Sending Bot Conversation Data to your Users"